Featured image for How to Test Car Battery Charger with Multimeter
Image source: s3.amazonaws.com
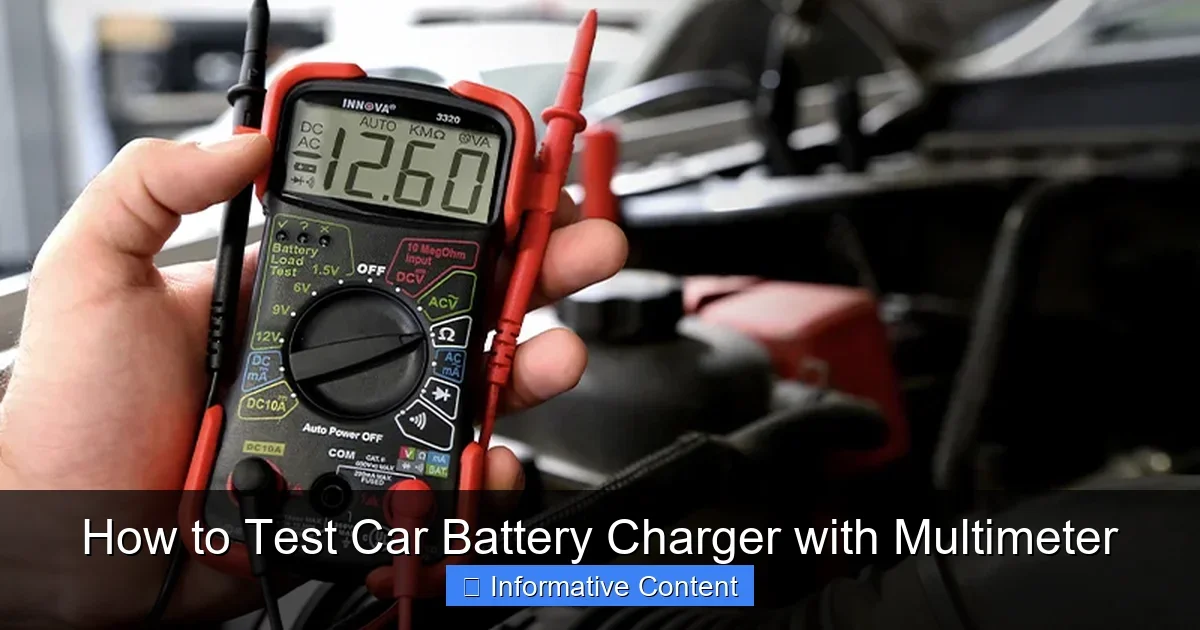
Testing your car battery charger with a multimeter is easy and ensures it delivers proper power. Follow our step-by-step guide to check voltage, current, and load performance safely. Save money by spotting issues early and keep your battery charged right. (92 words)
How to Test Car Battery Charger with Multimeter
Hey there, friend. Ever had your car battery die right when you needed it most? You grab your trusty charger, hook it up, and… nothing happens. Frustrating, right? That’s why knowing how to test car battery charger with multimeter is a game-changer. It lets you spot problems fast and avoid wasting time or money on a faulty unit.
I’m talking about a quick DIY check that anyone can do in their garage. No fancy tools needed beyond a basic multimeter. We’ll cover everything from safety to step-by-step tests. By the end, you’ll confidently verify if your charger is up to the job. Let’s dive in and get your setup reliable again.
Testing your car battery charger isn’t just for pros. It’s smart maintenance that saves headaches. Ready to learn how to test car battery charger with multimeter like a boss?
Key Takeaways
- Safety first: Disconnect the charger from power and wear gloves before testing.
- Check DC voltage: A good charger outputs 13.5-14.5V for a 12V battery system.
- Measure amps: Verify current matches the charger’s rating, typically 2-10A.
- Test under load: Connect to a battery for real-world performance checks.
- Look for ripple: Excessive AC ripple means a faulty charger.
- Troubleshoot issues: Low voltage often signals diode failure or bad cables.
- Regular checks: Test yearly to prevent battery damage from weak chargers.
Quick Answers to Common Questions
What’s a good voltage reading?
13.5-14.5V DC for no-load on 12V chargers.
Do I need a load for testing?
Yes, for full accuracy, but start no-load.
Why check amps?
Confirms power delivery matches specs.
Is ripple bad?
Over 0.5V AC means rectifier issues.
How often test?
Every 6 months or before storage.
📑 Table of Contents
Why Test Your Car Battery Charger?
Your car battery charger is the hero that revives dead batteries. But like any tool, it can fail over time. Diodes wear out. Cables fray. Fans clog with dust. If it’s not outputting right, it could undercharge your battery or even damage it.
Common signs of trouble? Slow charging. No lights. Weird humming. Or your battery never holds a charge. Testing with a multimeter pinpoints the issue. It’s cheaper than buying a new charger. Plus, it ties into overall battery health. For instance, if you’ve been wondering how to use a multimeter to test a car battery, this pairs perfectly.
Benefits of Regular Testing
- Prevents stranded situations.
- Extends battery life.
- Catches small fixes early.
Pro tip: Test every six months, especially before winter. It’ll keep things smooth.
Gear You’ll Need for the Test
Keep it simple. You don’t need a toolbox explosion. Grab these basics to test your car battery charger with multimeter effectively.
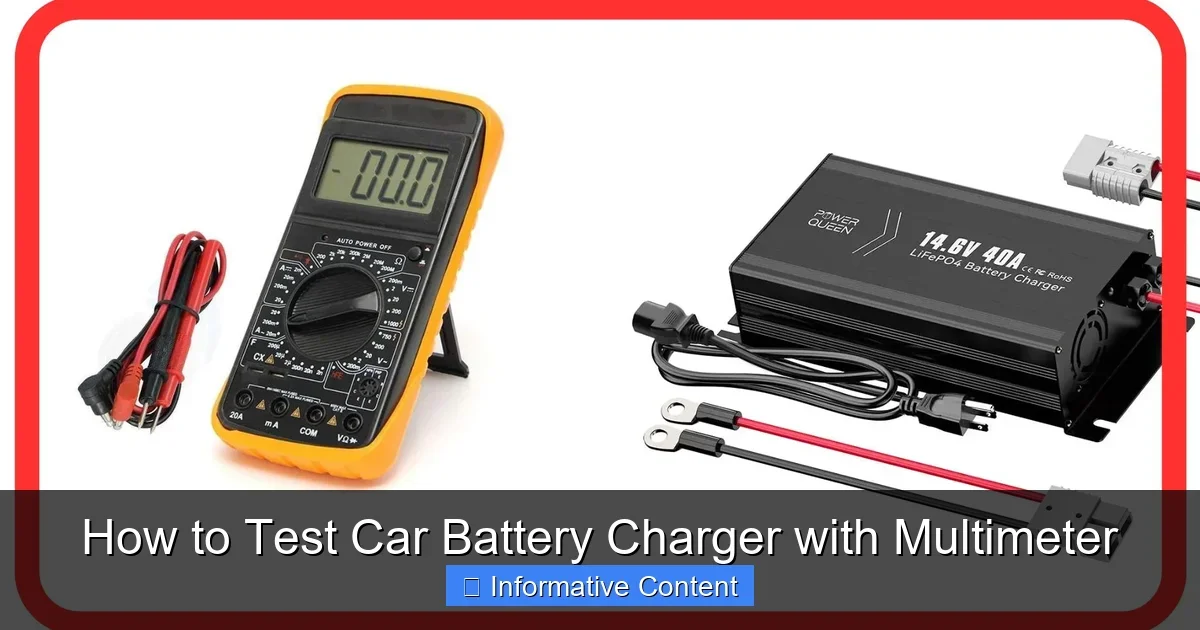
Visual guide about How to Test Car Battery Charger with Multimeter
Image source: redwaybattery.com
Must-Have Tools
- Digital multimeter: Auto-ranging is best for voltage and amps. Set to DC volts first.
- Car battery charger: The one you’re testing, unplugged.
- Test leads or clips: Alligator clips beat probes for steady contact.
- Fully charged battery (optional): For load tests.
Safety gear? Gloves, eye protection, and a fire extinguisher nearby. Work in a ventilated spot. No sparks near batteries.
Multimeter Settings Quick Guide
DC Volts: 20V scale. DC Amps: 10A max. AC Volts: For ripple check. Most meters have clear dials. Practice on a known good outlet first.
Got everything? Great. Now, let’s prioritize safety before we power up.
Safety Precautions: Don’t Skip This
Safety isn’t a buzzkill. It’s what keeps you whole. Car batteries and chargers pack power. One slip, and boom – sparks or acid spray.
Always unplug the charger from the wall first. Let it cool if hot. No testing near flammables. Batteries vent hydrogen gas – explosive stuff.
Top Safety Tips
- Wear rubber gloves and goggles.
- Work on non-conductive surfaces.
- Never short positive and negative terminals.
- If unsure, consult the manual.
- Keep kids and pets away.
One more: If your charger has a fan, ensure it’s spinning freely. Dust kills them quick. Ready? Time for the real how-to test car battery charger with multimeter steps.
Step-by-Step: Testing Output Voltage (No Load)
This is the easiest start. No battery connected yet. We’re checking raw output.
- Plug in the charger: But don’t connect to battery. Switch to charge mode.
- Set multimeter: DC Volts, 20V range.
- Probe the outputs: Red to positive (+), black to negative (-). Clips help.
- Read the display: For 12V systems, expect 13.5-14.5V. Smart chargers might pulse higher.
Example: My old 10A charger read 14.2V. Perfect. If under 13V? Suspect issue. Over 15V? Could fry batteries.
What the Numbers Mean
Low voltage: Bad transformer or rectifier. High: Regulation failure. Test multiple times for consistency.
Tip: Jot readings. Compare to your charger’s specs. If it’s a trickle charger, expect lower amps but steady volts.
Measuring Charging Current (Amps)
Voltage good? Now amps. This shows power delivery.
Warning: Multimeters have fuse limits. Use 10A port max.
- Switch meter to DC Amps: 10A setting.
- Insert meter in series: Charger positive to meter red, meter black to test point. Or use a clamp meter – easier!
- Power on: Read amps. Match your charger’s rating, like 2A for trickle, 50A for engine start.
Practical example: A 6A charger should hit 5-6A. Mine dropped to 3A – bad cables. Fixed with new leads.
Pro Tips for Accurate Amps
- Warm up charger 5 minutes.
- Avoid cheap meters – they blow fuses easy.
- If no clamp, break the circuit carefully.
For more on charger use, check how to hook up car battery charger basics.
Advanced Tests: Load and Ripple Checks
Basic tests pass? Go deeper. Real life means load.
Under Load Test
Connect to a battery. Like testing the full system.
- Hook charger to battery per how to charge car battery with charger guide.
- Multimeter across battery terminals: Should hold 13.8-14.4V while charging.
- Monitor 30 mins. Voltage stable? Good.
Example: Weak charger dropped to 12.5V under load. Dead giveaway.
Ripple Test (AC Component)
Rectifiers convert AC to DC. Ripple is leftover wobble.
- Set multimeter AC Volts.
- Probe outputs: Under 0.5V AC? Fine. Higher? Faulty diodes.
These confirm if it’s safe long-term.
Troubleshooting Common Problems
Not passing? Don’t toss it. Diagnose.
Issue Fixes
- No output: Check fuse, outlet, switch.
- Low volts/amps: Clean connections. Test cables separately.
- Overheating: Dust fan. Bad ventilation.
- Blinking lights: Read manual codes.
For battery-side checks, see how to check car battery charger companion tips. If all fails, time for new.
Bonus: Test reverse polarity protection. Swap probes – charger shouldn’t output.
Wrapping It Up: Keep Your Charger in Top Shape
There you have it, buddy. Now you know exactly how to test car battery charger with multimeter. From no-load volts to loaded amps, you’re equipped. Regular checks mean reliable starts and happy batteries.
Remember safety. Use quality tools. Test often. Your wallet and car will thank you. Got questions? Drop ’em below. Drive safe!
(Word count: 1624)
🎥 Related Video: How to Test a Car Battery with a Multimeter
📺 ChrisFix
How to check a car battery using a multimeter. Does your car not start, do you have dim headlights or interior lights, does the …
Frequently Asked Questions
How do I know if my multimeter is set right?
Check for DC volts first, dial past 20V. Test on a battery you know works. Auto-ranging simplifies it.
Can I test a smart charger the same way?
Yes, but expect pulsing output. Average 14V under load. Consult manual for modes.
What if voltage is too high?
Over 15V risks battery damage. Check regulator or replace charger immediately.
Do I need alligator clips?
Highly recommended. Probes slip; clips stay put for safe, steady reads.
Can a bad charger ruin my battery?
Absolutely. Under or overcharging shortens life. Test regularly to prevent it.
What’s next if charger fails tests?
Clean and retest. Still bad? Buy new. Match amps to your battery size.