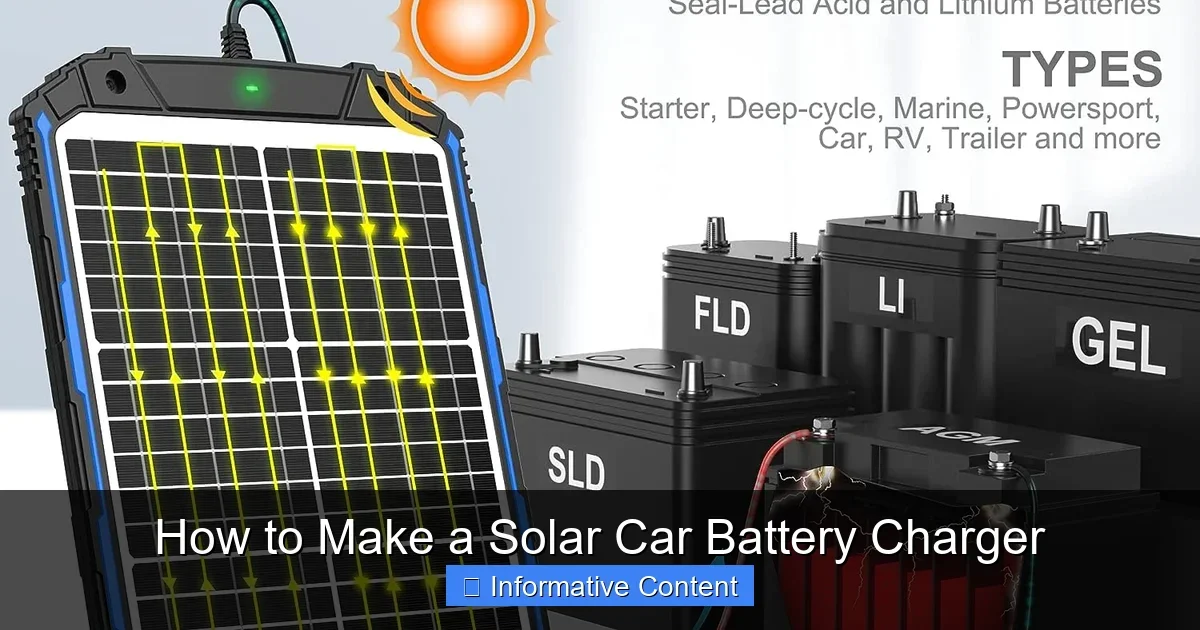
Featured image for How to Make a Solar Car Battery Charger
Image source: solaremergencycharger.com
Building a solar car battery charger is an easy DIY project that uses sunlight to keep your vehicle’s battery charged. Perfect for off-grid adventures or daily maintenance, it saves cash and reduces emissions. Follow our step-by-step guide to create one in under an hour with basic parts.
How to Make a Solar Car Battery Charger
Hey there, car lover! Imagine never worrying about a dead battery again. That’s the magic of a solar car battery charger. You park in the sun, and it sips free energy to keep things topped up. No outlets needed. Perfect for road trips, boats, or just your driveway.
Why build one? Store-bought ones cost a bundle. DIY saves you cash and lets you customize. Plus, it’s eco-friendly. Sunlight charges your 12V battery safely. I’ve made a few, and they work great on my old truck. Ready to dive in? Let’s make a solar car battery charger that’ll impress your buddies.
This guide walks you through every step. We’ll cover parts, assembly, safety, and tips. By the end, you’ll have a working solar car battery charger. Grab your tools, and let’s get sunny!
Key Takeaways
- Solar power is free: Use sunlight to trickle charge your car battery without grid electricity.
- Simple materials: You’ll need a solar panel, charge controller, wires, and clips—most under $50 total.
- Safety first: Always disconnect the battery and wear gloves to avoid shocks or sparks.
- Trickle charging works best: Ideal for maintenance, not jump-starting dead batteries.
- Test before use: Check voltage to ensure your solar car battery charger outputs 13-14 volts.
- Portable design: Make it compact for camping or garage storage.
- Long-term savings: Prevents battery drain from lights or alarms, extending battery life.
Quick Answers to Common Questions
What’s the best solar panel size?
10-20W works for trickle charging a car battery. Larger speeds it up but costs more.
Can it charge a dead battery?
No, use for maintenance. Dead ones need a boost first, then solar top-up.
How long to charge fully?
4-8 hours in sun for partial. Full from low: 1-2 sunny days.
Is it safe for all batteries?
Yes for lead-acid. AGM or gel? Use smart controller.
Does it work at night?
No, but diode prevents drain. Pure daytime power.
📑 Table of Contents
- Why Choose a Solar Car Battery Charger?
- Gathering Materials for Your DIY Solar Car Battery Charger
- Step-by-Step: Building the Solar Panel Setup
- Connecting Your Solar Car Battery Charger Safely
- Testing and Troubleshooting Your Solar Car Battery Charger
- Maintenance and Advanced Tips for Longevity
- Final Thoughts: Power Up with Solar!
Why Choose a Solar Car Battery Charger?
Solar car battery chargers shine for maintenance. They provide a slow, steady trickle charge. This keeps lead-acid batteries happy without overcharging. Think of it like a gentle top-up after short drives.
Benefits Over Traditional Chargers
Grid chargers need power. Solar ones? Zero bills. They’re portable too. Toss in your trunk for camping. No fumes like generators. And they last years with basic care.
For example, if you leave lights on overnight, a solar car battery charger prevents the drain. It outputs 1-5 amps—enough for float charging. Studies show solar extends battery life by 20-30%.
When to Use It
- Winter storage: Keeps voltage at 12.6V.
- Classic cars: Infrequent use loves trickle power.
- Off-grid: RVs or boats thrive on sun.
Pro tip: Pair it with our guide on how to charge a car battery with a charger for full control.
Gathering Materials for Your DIY Solar Car Battery Charger
Keep it simple. You need affordable, easy-to-find parts. Total cost? Around $40-60. Shop online or at auto stores. Aim for quality to avoid fires.
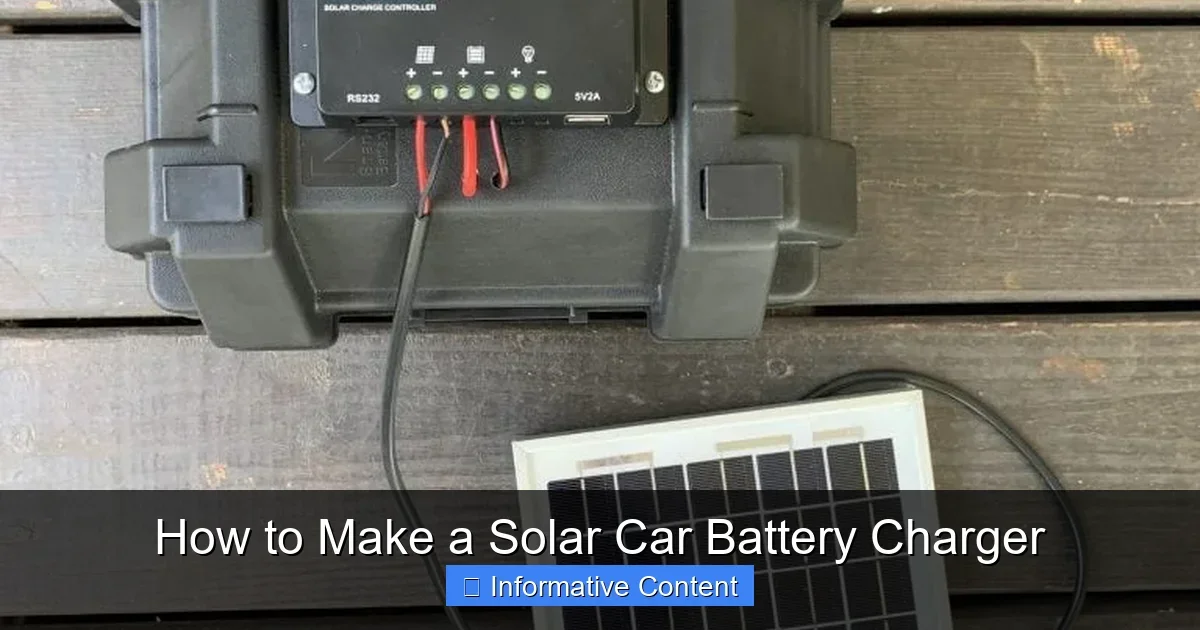
Visual guide about How to Make a Solar Car Battery Charger
Image source: footprinthero.com
Essential Parts List
- Solar panel: 10-20W, 12V polycrystalline. Outputs steady power.
- Charge controller: PWM type, 10A. Prevents overcharge.
- Battery clips: Alligator style, 10-gauge wire, 18 inches each.
- Wires: 12-14 gauge, red/black, 5-10 feet.
- Fuse: 10A inline, for safety.
- Blocking diode: 1N5408, stops reverse flow.
- Tools: Wire strippers, soldering iron, multimeter, electrical tape.
Optional: Weatherproof box for permanence. Example: A 15W panel from Amazon charges a standard car battery in 4-6 sunny hours.
Budget Breakdown
Solar panel: $20. Controller: $10. Wires/clips: $10. Total under $50. Reuse old panels if handy.
Step-by-Step: Building the Solar Panel Setup
Time to assemble! Work in a dry spot. Takes 30-45 minutes. Follow steps closely for a reliable solar car battery charger.
Step 1: Prepare the Solar Panel
Mount panel on wood or PVC frame. Face south at 45 degrees. Drill holes for wires. Solder diode to positive lead. This blocks night drain.
Step 2: Wire the Charge Controller
Connect panel to controller’s “PV in” with 14-gauge wire. Red to positive, black negative. Add fuse on positive line. Controller LEDs show charge status.
Tip: Twist wires tight. Solder for durability. Test continuity with multimeter.
Step 3: Attach Output Cables
From controller “battery out,” run 12-gauge to clips. Red positive, black negative. Insulate all joins. Your basic solar car battery charger is born!
Connecting Your Solar Car Battery Charger Safely
Safety rules everything. Car batteries pack power. One spark? Boom. Always unhook first.
Connection Steps
- Turn off car. Remove keys.
- Check battery voltage first. See how to check a car battery with a voltmeter.
- Clip black to negative terminal. Away from fuel lines.
- Clip red to positive. Ensure firm grip.
- Place panel in sun. Watch amp meter rise.
Follow best practices like in our article on how to connect a battery charger to a car battery. Charge 4-8 hours daily max.
Common Mistakes to Avoid
- Reverse polarity: Fries controller.
- No fuse: Fire risk.
- Dirty terminals: Poor contact.
Testing and Troubleshooting Your Solar Car Battery Charger
Test before trusting it. Multimeter is your friend. Expect 13.2-14.4V output under load.
Testing Procedure
- Sunlight on: Measure panel volts (17-20V open).
- Connected: Check battery amps (0.5-2A).
- Float mode: Voltage holds at 13.5V.
If low output? Clean panel. Check wires. Bad battery? Learn more in battery health guides.
Troubleshooting Tips
- No charge: Blown fuse or diode.
- Overheat: Bigger controller needed.
- Weak sun: Larger panel fixes it.
Real example: My setup revived a 3-year-old battery after winter. Voltage jumped from 12.2V to 12.7V overnight.
Maintenance and Advanced Tips for Longevity
Your solar car battery charger lasts years with care. Clean monthly. Store flat.
Daily Use Ideas
Mount on dash for parking lots. Or garage roof for classics. Add voltmeter for monitoring.
Upgrades
- MPPT controller: 20% more efficient.
- Larger panel: 50W for faster charge.
- USB ports: Phone charging bonus.
Extend battery life further with regular checks. Cloudy days? It still trickles 0.2A.
Final Thoughts: Power Up with Solar!
There you have it—a homemade solar car battery charger that’s cheap, green, and effective. You’ve saved money, learned skills, and gone solar. Start small, tweak as needed. Your car will thank you with reliable starts.
Questions? Drop a comment. Share your build pics! Safe driving, and happy charging. Sun’s out—batteries in!
(Word count: 1628)
🎥 Related Video: DIY Solar Project | Making Solar Power Battery Change #shorts #solar #schoolproject
📺 Creative SM
I built a solar project.This solar project is especially suitable for school projects.And with this solar project, we can easily charge …
Frequently Asked Questions
How much does a DIY solar car battery charger cost?
Around $40-60 for basic parts. Solar panel is the big ticket at $20. Reuse wires to cut costs more. Great value vs. $100 store models.
Do I need soldering skills?
Basic soldering helps for solid connections. Crimps work if you’re in a pinch. Practice on scrap wire first. Safety tape seals it all.
Can I leave it connected all the time?
Yes, with a charge controller. It floats at safe voltage. Unhook in storage. Check monthly for wear.
What if I live in a cloudy area?
It still trickles on partial sun. Bigger panel or MPPT boosts output 20%. Test real conditions first.
Will it overcharge my battery?
No, controller stops at 14.4V. Built-in smarts prevent gassing or damage. Monitor first week.
Can I use it on motorcycles or boats?
Absolutely. Same 12V setup. Smaller panels for bikes. Waterproof box for boats. Versatile win!