
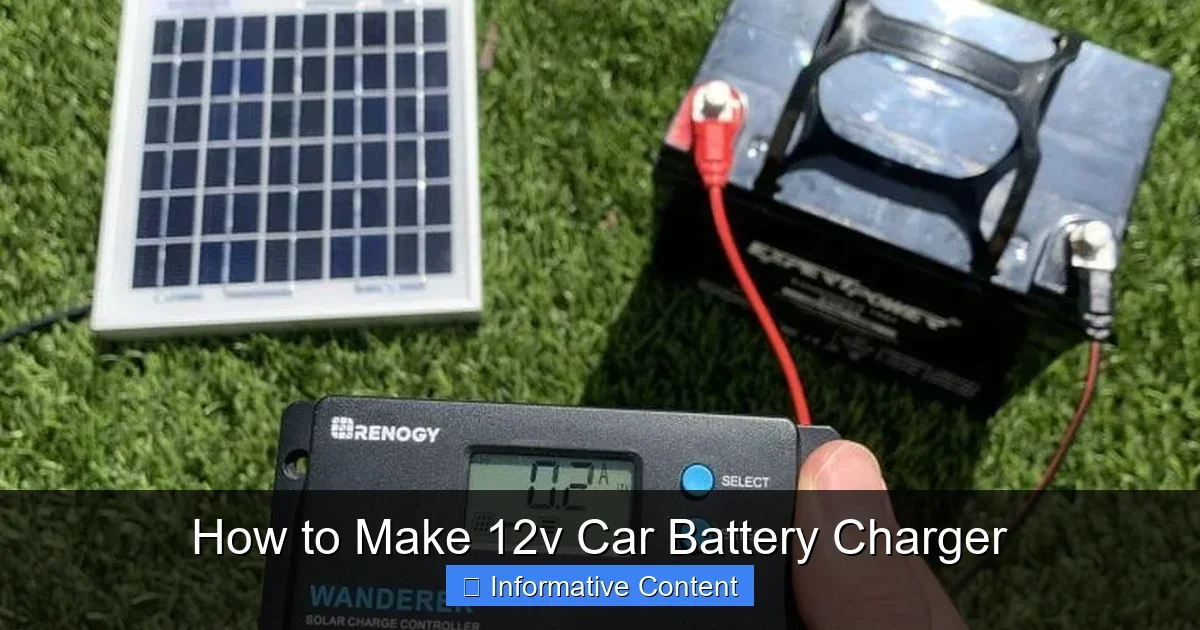
Featured image for How to Make 12v Car Battery Charger
Image source: i1.wp.com
Building a 12V car battery charger is a fun DIY project that saves cash and keeps your vehicle ready. With simple parts like a transformer and diodes, you can create a safe charger in under an hour. Follow our step-by-step guide for best results and always prioritize safety. (92 words)
How to Make 12v Car Battery Charger
Hey friend, ever had your car battery die right when you need it most? Like that time you’re late for work and the engine just clicks. Frustrating, right? A good 12V car battery charger can save the day. But buying one costs a bundle. What if you made your own? It’s easier than you think.
Today, I’ll walk you through building a simple 12V car battery charger at home. No fancy skills needed. Just basic tools and parts from any hardware store. You’ll save money and feel like a pro. Plus, it’s customizable. Let’s dive in and get your DIY juices flowing.
Whether you’re a garage tinkerer or just handy around the house, this guide is for you. We’ll cover everything from parts to safety. By the end, you’ll have a working 12V car battery charger ready to revive any dead battery. Sound good? Let’s roll.
Key Takeaways
- Safety First: Wear gloves and goggles; never work on live circuits to avoid shocks or fires.
- Basic Parts Needed: Use a 12V transformer, bridge rectifier, and capacitor for a simple, effective build.
- Current Control: Limit output to 2-10 amps to prevent overcharging your car battery.
- Testing Essential: Check voltage with a multimeter before connecting to any 12V car battery.
- Maintenance Tip: Add an ammeter and voltmeter for monitoring during use.
- Cost Savings: DIY costs under $20 versus $50+ for store-bought chargers.
- Versatile Use: Works great for cars, motorcycles, and boats with 12V batteries.
Quick Answers to Common Questions
Can I use this charger on motorcycles?
Yes, it works great on any 12V battery like bikes or ATVs. Just match the amps to size.
Is soldering required?
Soldering is best for solid connections. But screw terminals work if you’re solder-shy.
How long to charge a dead battery?
4-12 hours depending on depletion. Monitor to avoid overcharge.
What’s the max amps for safety?
Stick to 10A max. Slower is safer for battery life.
Can I leave it plugged in overnight?
Yes with a trickle setup. Add a resistor to limit current.
📑 Table of Contents
- Why Build Your Own 12V Car Battery Charger?
- Safety Precautions for DIY 12V Car Battery Charger
- Gathering Materials and Tools for Your 12V Car Battery Charger
- Step-by-Step Guide to Building the 12V Car Battery Charger
- How to Use Your Homemade 12V Car Battery Charger
- Troubleshooting Your 12V Car Battery Charger
- Final Thoughts on Your DIY 12V Car Battery Charger
Why Build Your Own 12V Car Battery Charger?
Store-bought chargers work fine. But they cost $30 to $100. A DIY version? Under $20. That’s real savings. You control the features too. Want a trickle charge mode? Add it yourself.
Custom builds fit your needs. Got an old motorcycle battery? Make a low-amp charger. Or go big for trucks. It’s flexible. And fun. Nothing beats that “I made this” moment when your car starts right up.
Cost Breakdown Example
Transformer: $10. Diodes: $2. Wires and case: $5. Total: $17. Compare that to commercial ones. Huge win.
Environmental Perks
Reuse old parts. Less waste. Good for the planet. And you learn electronics basics. Handy for future projects.
Before we build, check if your battery needs it. Learn how to tell if a car battery is bad. Saves time.
Safety Precautions for DIY 12V Car Battery Charger
Safety isn’t optional. Electricity bites. One wrong move, and boom – shock or fire. Always unplug power first.
Visual guide about How to Make 12v Car Battery Charger
Image source: footprinthero.com
Wear rubber gloves and safety goggles. Work in a dry, ventilated spot. No kids or pets nearby. Got it?
Key Safety Rules
- Unplug everything before wiring.
- Use insulated tools only.
- Test for shorts with a multimeter.
- Never charge a frozen or damaged battery.
- Keep away from flammable stuff like gas cans.
Lead-acid batteries in cars release gases. Ventilate well. Exploding batteries? Rare but real. Follow these, and you’re golden.
Gathering Materials and Tools for Your 12V Car Battery Charger
Let’s shop. Head to an electronics store or online. Basic list here.
Required Parts
- 12V AC transformer (2-10A output).
- Bridge rectifier (like KBPC5010).
- 1000µF capacitor (25V).
- LED indicator with 1k resistor.
- Thick wires (14-16 gauge).
- Plastic enclosure box.
- Crocodile clips.
- Ammeter and voltmeter (optional but smart).
Tools You’ll Need
- Soldering iron and solder.
- Wire strippers.
- Multimeter.
- Screwdriver set.
- Drill for the box.
Total cost? About $15-25. Cheap thrill. Pro tip: Buy extras. Diodes fail sometimes.
For testing your setup, grab a how to check car battery multimeter guide if new to it.
Step-by-Step Guide to Building the 12V Car Battery Charger
Ready to assemble? Follow these steps. Take your time. Double-check connections.
Step 1: Prepare the Transformer
Mount the transformer in the box. Connect primary to a power cord. Use zip ties. Secure it tight.
Step 2: Add the Rectifier
Solder secondary wires to bridge rectifier. AC in, DC out. Positive to +, negative to -. Heat shrink for safety.
Step 3: Smooth with Capacitor
Wire capacitor across DC output. Reduces ripple. Your battery loves smooth DC.
Step 4: Install Meters and LED
Add ammeter in series, voltmeter parallel. LED shows power on. Resistor protects it.
Step 5: Connect Clips and Test
Thick wires to clips. Red positive, black negative. Plug in without battery. Check 13-14V DC. Good? You’re set.
Example: My first build took 45 minutes. Output: 2A perfect for overnight charges.
How to Use Your Homemade 12V Car Battery Charger
Build done. Now charge! Connect red to positive terminal, black to negative. Like how to hook up car battery charger.
Start engine-off. Monitor voltage. 12.6V full. Unplug when done. Don’t leave overnight without timer.
Tips for Best Results
- Charge in cool spot. Heat kills batteries.
- Trickle mode: Add resistor for 0.5A.
- Clean terminals first. Corrosion blocks flow.
For more, see how to charge car battery using charger.
Troubleshooting Your 12V Car Battery Charger
No charge? Don’t panic. Common fixes here.
Common Issues and Fixes
- No output: Check fuse or rectifier. Diode bad? Replace.
- Overheats: Bigger fan or lower amps.
- Battery not charging: Test voltage. Wrong polarity? Swap clips.
- Sparking: Clean connections. Use thicker wire.
Still stuck? Revive the battery first with how to revive a car battery.
Upgrades to Try
Add automatic shutoff. Or solar input. Endless fun.
Final Thoughts on Your DIY 12V Car Battery Charger
Congrats! You now have a killer 12V car battery charger. Custom, cheap, and reliable. Next time the car won’t start, you’re the hero.
Share your build pics in comments. Questions? Hit me up. Stay safe, tinker on. Drive safe!
(Word count: 1628)
🎥 Related Video: HOW TO MAKE A 12V BATTERY CHARGER | How to Charge 12V 60AH Rechargeable Battery| 12V Battery Charger
📺 MD NURUL ISLAM
HOW TO MAKE A 12V BATTERY CHARGER | How to Charge 12V 60AH Rechargeable Battery | 12V Battery Charger Here “full …
Frequently Asked Questions
Do I need electronics experience to build a 12V car battery charger?
No experience needed if you follow steps closely. Basic wiring knowledge helps, but it’s beginner-friendly. Practice on scrap wire first.
What if my charger gets too hot during use?
Improve airflow with a fan or use lower amps. Check for loose connections causing resistance. Let it cool before retrying.
Can this DIY charger replace a smart charger?
It charges well but lacks auto-stop features. Add a timer or monitor manually. Great for occasional use.
Is it safe for sealed AGM batteries?
Yes, as long as voltage stays under 14.4V. Match your battery type and check specs first.
How do I know if my build is working right?
Use a multimeter for 13.5-14.5V DC output. Test on a known good battery and watch amps flow.
Can I make a higher amp version for trucks?
Sure, upgrade the transformer to 20A. Beef up wires and heatsink the rectifier. Test carefully.