To safely connect a car battery charger, always follow the correct sequence to prevent dangerous sparks and potential injury. First, connect the positive (+) charger clamp to the positive (+) battery terminal, then attach the negative (-) clamp to a bare metal part of the car’s chassis (away from the battery), and finally plug the charger into an electrical outlet.
Have you ever experienced that dreadful moment when you turn the key, and all you get is a disheartening click, or worse, absolute silence? That sinking feeling often means one thing: a dead car battery. It’s a common scenario, leaving many of us feeling stranded and frustrated. While jump-starting is a quick fix, sometimes your battery needs a proper charge to bring it back to life and ensure reliable performance. That’s where a battery charger comes in, a truly invaluable tool for any car owner.
Connecting a battery charger to your car battery might seem daunting at first, especially with the warnings about sparks and safety. But I’m here to tell you, it’s a straightforward process once you understand the steps and, more importantly, the critical safety precautions involved. Think of me as your friendly guide, walking you through each stage with clear, actionable advice, just like I would for a friend who’s never done it before. My goal is to empower you to confidently and safely connect a battery charger to your car battery, so you can avoid that helpless feeling and get back on the road.
In this comprehensive guide, we’ll cover everything from understanding your equipment to the precise steps for connecting and disconnecting, ensuring you know exactly how to connect a battery charger to a car battery safely and effectively. We’ll demystify the process, highlight crucial safety measures, and even touch on common troubleshooting tips. By the end of this, you’ll be a pro at keeping your car’s battery topped up and ready for whatever journey lies ahead.
Key Takeaways
- Prioritize Safety: Always wear eye protection and gloves for protection.
- Ventilate Area: Ensure adequate ventilation to prevent gas buildup.
- Turn Car Off: Disconnect vehicle power and accessories completely.
- Connect Positive First: Attach positive (+) clamp to battery’s positive terminal.
- Negative to Chassis: Connect negative (-) clamp to an unpainted metal chassis point.
- Charger Last: Plug in and turn on charger ONLY after clamps are secure.
- Disconnect Safely: Turn off charger, then remove negative, then positive clamps.
Quick Answers to Common Questions
Which cable do I connect first when using a battery charger?
Always connect the positive (red) clamp of your battery charger to the positive (+) terminal of your car battery first. This is a crucial first step for safe connection.
Do I need to disconnect my car battery from the car before charging?
For most modern cars and basic charging, you typically don’t need to disconnect your car battery. However, if you’re unsure or want extra caution, disconnecting the negative battery cable from the car’s electrical system can prevent potential surges.
Where does the negative (black) clamp go if not on the battery terminal itself?
After connecting the positive clamp to the car battery, connect the negative (black) clamp of your battery charger to a clean, unpainted metal part of the engine block or car frame, away from the battery and fuel lines. This placement minimizes the risk of sparks near the battery’s gases.
Is ventilation important when charging a car battery?
Absolutely! Car batteries can release hydrogen gas during charging, which is highly flammable. Always ensure you connect your battery charger in a well-ventilated area to prevent any dangerous gas buildup.
Should I plug in the battery charger before or after connecting the clamps to the car battery?
Always connect the battery charger’s clamps to the car battery (and chassis for the negative) *before* plugging the charger into an AC outlet. This helps prevent sparks at the battery terminals, which could ignite hydrogen gas and is a key safety tip.
📑 Table of Contents
Understanding Your Tools: The Charger and the Battery
Before you even think about connecting anything, it’s essential to get acquainted with the two main characters in our story: your battery charger and your car battery. Knowing their characteristics will help you make the right choices and ensure a safe charging process.
Types of Battery Chargers: Not All Are Created Equal
Just like cars, battery chargers come in various types, each designed for specific needs. Understanding these differences is the first step in learning how to connect a battery charger to a car battery correctly.
- Manual Chargers: These are the most basic. You set the charge rate (amps) and often need to monitor the battery closely to prevent overcharging, which can damage the battery. They don’t typically shut off automatically.
- Automatic (Smart) Chargers: These are generally the safest and most convenient. They “read” the battery’s condition, adjust the charging voltage and current as needed, and automatically switch to a maintenance (trickle) mode once the battery is fully charged. They are excellent for long-term connection.
- Trickle Chargers/Battery Maintainers: Designed to provide a low, steady current to keep a battery topped off over extended periods, preventing self-discharge. They are perfect for vehicles stored for weeks or months, like classic cars or seasonal vehicles. They are not meant to quickly recharge a dead battery.
- Jump Starters/Portable Power Packs: While some have a charging function, their primary purpose is to provide a quick burst of power to start a dead car. They usually have clamps but are generally not designed for a full, slow charge.
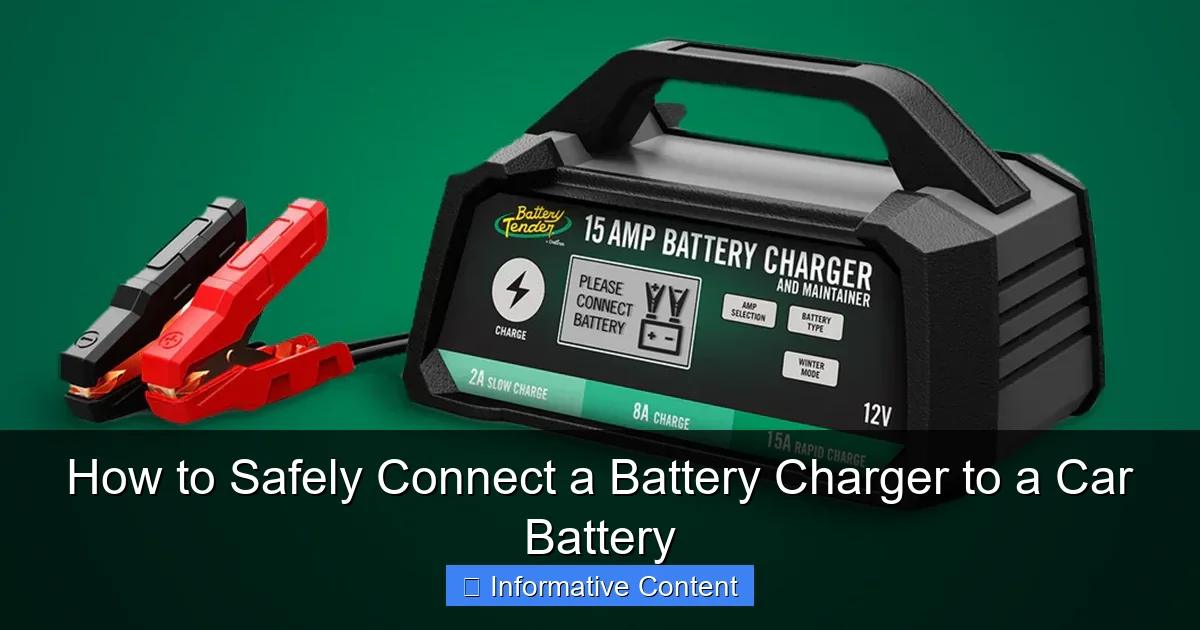
Always check your charger’s manual to understand its specific features and capabilities. Pay attention to its voltage (usually 12V for cars) and its ampere (amp) rating, which indicates how quickly it can charge.
Know Your Car Battery: The Powerhouse Under the Hood
Most modern cars use 12-volt lead-acid batteries, but there are different types within that category:
- Flooded (Wet Cell) Batteries: The most common, containing a liquid electrolyte. Some are “maintenance-free,” while others allow you to check and top off electrolyte levels.
- AGM (Absorbed Glass Mat) Batteries: More advanced, with electrolyte absorbed in fiberglass mats. They are spill-proof, more vibration resistant, and generally last longer.
- Gel Cell Batteries: Similar to AGM but use a gelled electrolyte. They are very sensitive to overcharging.
Crucially, you need to identify the positive (+) and negative (-) terminals. The positive terminal is usually marked with a plus sign (+) and often has a red cover or cable. The negative terminal is marked with a minus sign (-) and typically has a black cable. It’s vital to get these right when you connect a battery charger to a car battery.
Essential Checks Before Connecting: A Quick Inspection
Before you even think about touching the clamps, do a quick visual inspection:
- Charger Cables: Are the cables and clamps on your charger in good condition? Look for frayed wires, cracked insulation, or corroded clamps. Damaged cables are a safety hazard.
- Battery Condition: Check the car battery itself. Look for cracks, bulges, or any signs of leakage. If you see severe damage or fluid leaking, do NOT attempt to charge it. It might be unsafe, and the battery likely needs replacement.
- Terminal Cleanliness: Are the battery terminals corroded? A white or bluish-green powdery substance indicates corrosion, which can hinder a proper connection and charging. Clean them with a wire brush or a baking soda/water solution if necessary (ensure proper safety gear for this).
- Ventilation: Ensure you are in a well-ventilated area. Batteries can produce explosive hydrogen gas during charging.
Safety First: Essential Precautions Before You Begin
When you’re dealing with electricity and automotive fluids, safety isn’t just a suggestion; it’s absolutely non-negotiable. Taking these precautions seriously will protect you, your vehicle, and your equipment. This is perhaps the most important section when learning how to connect a battery charger to a car battery.
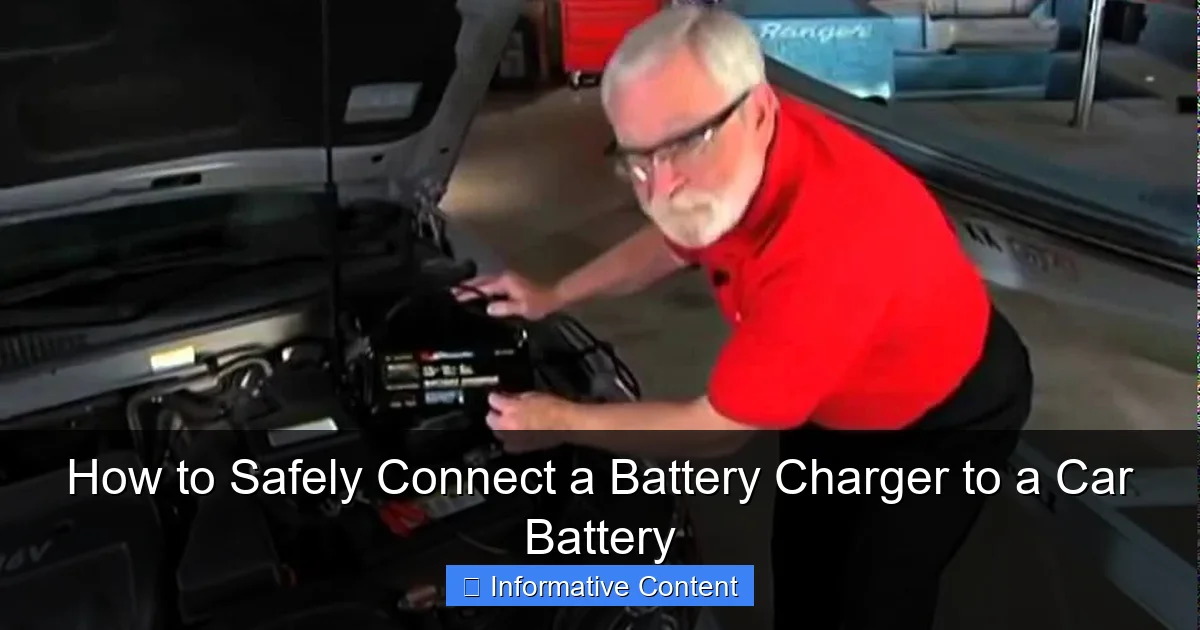
Visual guide about connect battery charger to car battery
Image source: i.ytimg.com
Personal Protective Equipment (PPE): Your First Line of Defense
- Eye Protection: Always, always wear safety glasses or goggles. Batteries contain sulfuric acid, which can cause severe burns and blindness. Sparks are also a real danger.
- Gloves: Chemical-resistant gloves (like rubber or nitrile) will protect your hands from battery acid and prevent electrical shocks from damaged cables.
- Avoid Jewelry: Remove all metal jewelry (rings, watches, bracelets, necklaces). Metal can conduct electricity, potentially causing a short circuit, severe burns, or even welding to the battery terminals.
Ventilation is Key: Breathe Easy, Stay Safe
As mentioned, car batteries produce hydrogen gas when charging, especially during the later stages. Hydrogen gas is highly flammable and can explode if ignited by a spark or flame. Therefore:
- Always charge your battery in a well-ventilated area. If you’re in a garage, open the garage door and windows.
- Never charge a battery in a completely enclosed space.
- Avoid smoking or having any open flames near the charging battery.
Vehicle Safety: Setting the Stage
Before you even bring the charger near your car:
- Turn Off the Vehicle: Make sure the engine is off and the ignition is completely switched off. It’s also a good idea to remove the keys from the ignition to prevent accidentally turning it on.
- Engage Parking Brake: Ensure the parking brake is firmly engaged to prevent the car from moving.
- Put in Park/Neutral: If it’s an automatic transmission, put it in Park (P). If it’s a manual, put it in Neutral (N).
Avoid Sparks: The Biggest Danger
Sparks are the arch-nemesis of battery charging. A spark near a gassing battery can cause an explosion. To avoid them:
- Always make your final connection (the negative clamp to ground, away from the battery) and disconnection (unplugging the charger first) in a way that minimizes sparks.
- Never allow the positive and negative clamps of the charger to touch each other once the charger is plugged in.
Step-by-Step Guide: Connecting the Charger to Your Car Battery
Now that we’ve covered the crucial groundwork, let’s get down to the actual process of how to connect a battery charger to a car battery. Follow these steps carefully, and you’ll be charging like a pro in no time.
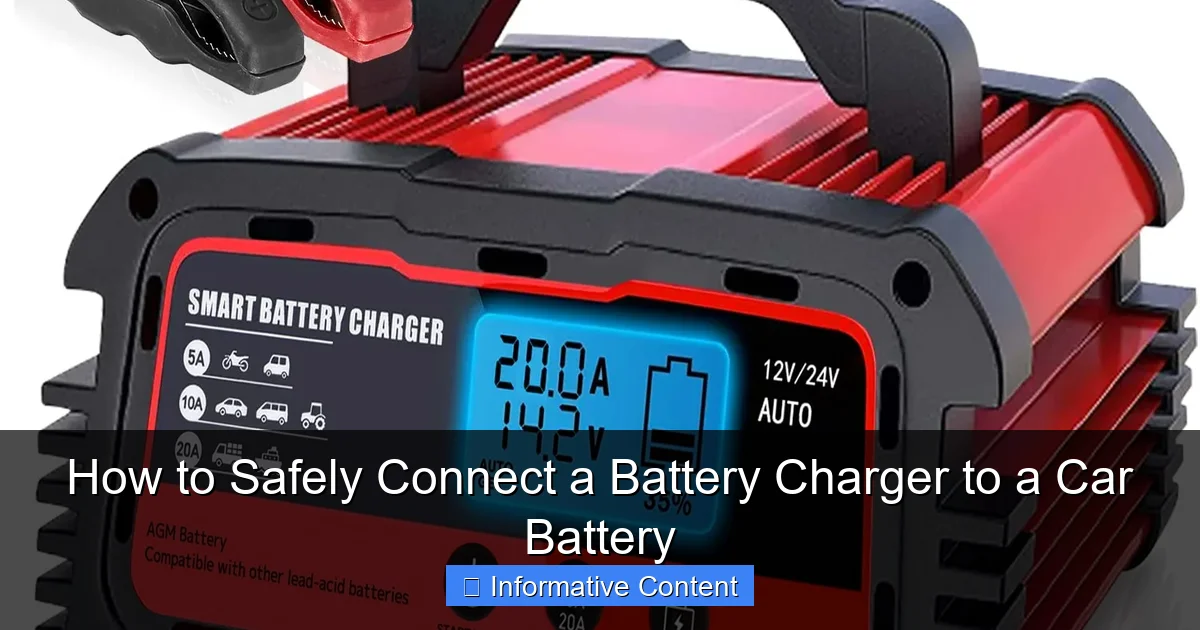
Visual guide about connect battery charger to car battery
Image source: lvyuan.com
Step 1: Prepare the Area and the Battery
With your safety gear on and the area well-ventilated, ensure your battery terminals are clean. If they have corrosion, gently brush it off. You can use a wire brush specifically designed for battery terminals or a mixture of baking soda and water (a tablespoon of baking soda per cup of water) to neutralize the acid, then rinse with clean water and dry thoroughly. A clean connection ensures efficient charging.
Step 2: Connect the Positive (Red) Clamp
Locate the positive terminal on your car battery. It’s usually marked with a plus sign (+) and often has a red cap or a red cable leading to it. Take the red (positive) clamp from your battery charger and attach it firmly to the positive terminal of the car battery. Make sure it has a solid, metal-to-metal connection and won’t easily fall off.
Step 3: Connect the Negative (Black) Clamp
This is where many people get nervous, and for good reason, as this is the connection that can potentially create a spark. You have two main options:
- Option A (Recommended for most modern vehicles): Connect to a Ground Point Away from the Battery. Find an unpainted metal part of the car’s engine block or chassis (frame) that is well away from the battery itself. This could be a metal bracket, a bolt, or a part of the engine block. The reason for this is to ensure any spark generated upon connection occurs away from the potentially explosive hydrogen gas accumulating around the battery terminals.
- Option B (For batteries removed from the vehicle or in specific scenarios): Connect Directly to the Negative Terminal. If you’ve removed the battery from the car (which is often the safest way to charge it), or if your car’s manual specifically directs you to, you can connect the black (negative) clamp directly to the negative (-) terminal of the battery. However, if the battery is still in the car, always prioritize connecting to a ground point away from the battery.
Attach the black (negative) clamp firmly to your chosen ground point or negative terminal.
Step 4: Plug in the Charger and Select Settings
Only after both clamps are securely attached to the battery (or battery and ground point) should you plug the battery charger into an AC power outlet. Once plugged in, refer to your charger’s manual to select the appropriate settings:
- Voltage: For car batteries, this will almost always be 12 volts.
- Charge Rate (Amps): If your charger has multiple settings, choose an appropriate amp rate. For a deeply discharged battery, a higher amp setting (e.g., 10-15 amps) might be suitable for faster charging, but for a slow, gentle charge that’s better for battery health, a lower amp setting (e.g., 2-6 amps) is preferred. For maintenance, 1-2 amps (trickle charge) is ideal. Automatic chargers will typically manage this for you.
- Battery Type: Some smart chargers allow you to select the battery type (e.g., Flooded, AGM, Gel). Ensure you choose the correct one for optimal charging.
Practical Example: Imagine my friend, Tom, had his truck sitting for months, and the battery was completely dead. He carefully followed these steps: First, he put on his safety glasses and gloves. He connected the red clamp to the positive terminal. Then, knowing the risk of sparks, he connected the black clamp to a sturdy, unpainted bolt on the engine block, far from the battery itself. Only then did he plug in his smart charger and set it to the “12V Auto” setting. He could visibly see the charger’s indicator light confirm it was charging, and a wave of relief washed over him.
Monitoring and Disconnecting: Ensuring a Safe Charge Cycle
Once you’ve successfully connected and started the charging process, it’s not a “set it and forget it” situation, especially with manual chargers. Monitoring is key, and disconnecting properly is just as important as connecting correctly.
Monitoring the Charge: Watch for the Signs
The charging time depends on the battery’s state of discharge, its capacity, and the charger’s output. A completely dead car battery might take anywhere from 4 to 24 hours to fully charge with a typical automatic charger. Here’s what to look for:
- Charger Indicator Lights: Most automatic chargers have indicator lights (e.g., “Charging,” “Charged,” “Fault”). Pay attention to these. “Charged” or “Maintain” mode means it’s done.
- Voltmeter Reading: If your charger has one, a fully charged 12V battery typically reads around 12.6 to 12.8 volts when the charger is disconnected and the battery has rested for a bit.
- No Gassing/Boiling (for Flooded Batteries): While a little bubbling is normal in flooded batteries towards the end of charging, excessive boiling or gassing can indicate overcharging or an internal battery issue. If you notice a strong sulfuric smell, stop charging immediately.
- Warmth: A slightly warm battery is normal, but a hot battery indicates a problem – stop charging immediately.
Never overcharge a battery, especially with a manual charger, as this can severely damage it by boiling off its electrolyte and shortening its lifespan. Automatic chargers are designed to prevent overcharging.
The Disconnection Process: The Reverse Order is Key
Once your battery is fully charged, the disconnection process is critical to avoid sparks and ensure safety. Remember the order and reverse it!
- Unplug the Charger First: Before touching any clamps, unplug the battery charger from the AC power outlet. This de-energizes the clamps and prevents any electrical current from flowing when you disconnect them.
- Disconnect the Negative (Black) Clamp: Remove the black (negative) clamp from the ground point on the engine block or from the negative terminal of the battery.
- Disconnect the Positive (Red) Clamp: Finally, remove the red (positive) clamp from the positive terminal of the car battery.
Following this precise order significantly reduces the risk of creating a spark near the battery, which, as we discussed, is crucial for safety.
Post-Charge Checks: Ensuring Readiness
After disconnecting the charger:
- Check Voltage: Wait about 15-30 minutes for the battery to “rest,” then check its voltage with a multimeter. A healthy, fully charged battery should read between 12.6V and 12.8V.
- Re-tighten Terminals: Ensure your battery terminals are clean and securely tightened. Loose connections can lead to poor starting and charging issues.
- Start Your Car: With everything connected properly and safely, try starting your car. It should crank strongly and start without hesitation.
Troubleshooting Common Issues and Advanced Tips
Even with the best intentions and careful adherence to instructions on how to connect a battery charger to a car battery, things don’t always go perfectly. Here are some common issues you might encounter and a few advanced tips.
Charger Not Turning On/Charging
- Check Power Outlet: Is the outlet live? Try plugging in another device.
- Charger Fuse/Breaker: Some chargers have internal fuses or circuit breakers that might have tripped or blown. Consult your manual.
- Loose Connections: Double-check that both the positive and negative clamps are making solid, metal-to-metal contact. Corrosion can interfere with this.
- Battery Too Dead: Some smart chargers won’t initiate charging if the battery voltage is extremely low (e.g., below 2-3 volts), as they might not “detect” the battery. In rare cases, a manual charger or another car’s healthy battery connected in parallel might ‘wake up’ the dead battery enough for the smart charger to take over.
Battery Still Dead After Charging
- Battery Beyond Recovery: Not all batteries can be saved. If a battery is very old, has sustained internal damage, or has been deeply discharged for an extended period, it might not hold a charge. You might need a new battery.
- Alternator/Charging System Issue: If your battery charges fine but quickly dies again after driving, the problem might not be the battery itself, but your car’s charging system (alternator, voltage regulator). Have it tested by a professional.
- Parasitic Drain: Something in your car could be drawing power even when the car is off, slowly draining the battery. This can be tricky to diagnose and often requires professional help.
Using a Battery Maintainer/Trickle Charger for Long-Term Storage
If you have a vehicle that sits for extended periods (e.g., motorcycles, RVs, classic cars), a battery maintainer is a wise investment. They provide a low, constant charge to counteract the battery’s natural self-discharge, keeping it at optimal voltage. The connection process is the same as described above, but these chargers are designed to be left connected for weeks or months without fear of overcharging. This is an excellent way to extend your battery’s life.
Jump Starting vs. Charging: When to Use Which
Jump-starting provides a quick burst of power from another vehicle or a jump pack to get your engine running. It doesn’t fully charge your battery but relies on your alternator to charge it once the engine is running. Charging with a battery charger, however, slowly and thoroughly replenishes the battery’s energy. Use a charger for a full, healthy charge, especially if your battery is deeply discharged or you want to ensure its longevity. Use a jump start only when you need to get moving immediately and don’t have time for a full charge, but be aware your battery might still be low afterward.
Charger Types and Their Best Use Cases
To help you decide which charger is right for your needs, here’s a quick summary:
| Charger Type | Key Features | Best Use Case | Pros | Cons |
|---|---|---|---|---|
| Manual Charger | Fixed charge rate, requires monitoring. | Infrequent use, quick high-amp charge (with vigilance), simple needs. | Inexpensive, robust. | Risk of overcharging, requires user attention. |
| Automatic (Smart) Charger | Microprocessor-controlled, adjusts charge, auto shut-off/maintenance mode. | Regular charging, deep discharge recovery, all battery types. | Safe, prevents overcharging, extends battery life, versatile. | More expensive than manual, may not charge extremely dead batteries. |
| Trickle Charger/Maintainer | Very low constant charge (1-2 amps), designed for long-term connection. | Seasonal vehicles, vehicles in storage, preventing self-discharge. | Ideal for long-term battery health, very safe for extended use. | Not for quick charging a dead battery. |
Conclusion
There you have it! From understanding your charger and battery to the precise steps of connecting and disconnecting, you now have a comprehensive guide on how to connect a battery charger to a car battery safely and effectively. It might seem like a lot of information, but each step is designed to ensure your safety and the longevity of your battery. Remember, patience and adherence to the proper sequence are your best friends here.
The ability to confidently charge your own car battery is a valuable skill that can save you time, money, and a great deal of stress. By always prioritizing safety – wearing your PPE, ensuring good ventilation, and preventing sparks – you can tackle a dead battery with confidence. So the next time your car gives you that disheartening click, you’ll know exactly what to do. Your car battery, and your peace of mind, will thank you for it!
🎥 Related Video: Which car Battery Terminal to Disconnect First?
📺 Rx Mechanic
Frequently Asked Questions
How do I connect a battery charger to a car battery?
Start by connecting the red (positive) clamp from the battery charger to the positive terminal of the car battery, typically marked with a “+” symbol. Next, connect the black (negative) clamp to a solid metal part of the car’s chassis away from the battery, or directly to the negative terminal if your car’s manual specifies it. Ensure both clamps are secure before plugging the charger into an AC outlet.
What is the correct order to connect a battery charger to a car battery?
Always connect the positive (red) clamp to the positive battery terminal first. Then, attach the negative (black) clamp to a good chassis ground point away from the battery, or to the negative battery terminal as recommended by your vehicle’s manufacturer. Only after both clamps are securely connected should you plug the battery charger into a working electrical outlet.
What safety precautions should I take when connecting a battery charger to a car battery?
It’s crucial to wear safety glasses and gloves to protect against battery acid and potential sparks. Ensure you are in a well-ventilated area to dissipate any hydrogen gas emitted by the battery. Also, confirm the car’s ignition is off and all accessories are unplugged before attempting to connect the battery charger.
How do I safely disconnect the battery charger from my car battery?
First, always unplug the battery charger from the AC power outlet to de-energize it completely. After that, carefully remove the negative (black) clamp from the chassis ground or battery terminal. Finally, detach the positive (red) clamp from the positive battery terminal.
Do I need to remove the car battery from the vehicle before connecting a battery charger?
No, it is generally not necessary to remove the car battery from the vehicle before connecting a battery charger. Most modern chargers are designed for in-vehicle charging, but it’s important to ensure good ventilation around the battery. Always consult your car’s owner’s manual for specific recommendations.
What happens if I connect the battery charger terminals incorrectly?
Connecting a battery charger with reversed polarity can be dangerous and potentially damage your battery, the charger, or the vehicle’s electrical system. Many modern battery chargers feature reverse polarity protection, which will prevent the charger from operating or alert you with a warning light. However, older chargers may spark, overheat, or even cause the battery to explode, so always double-check your connections.