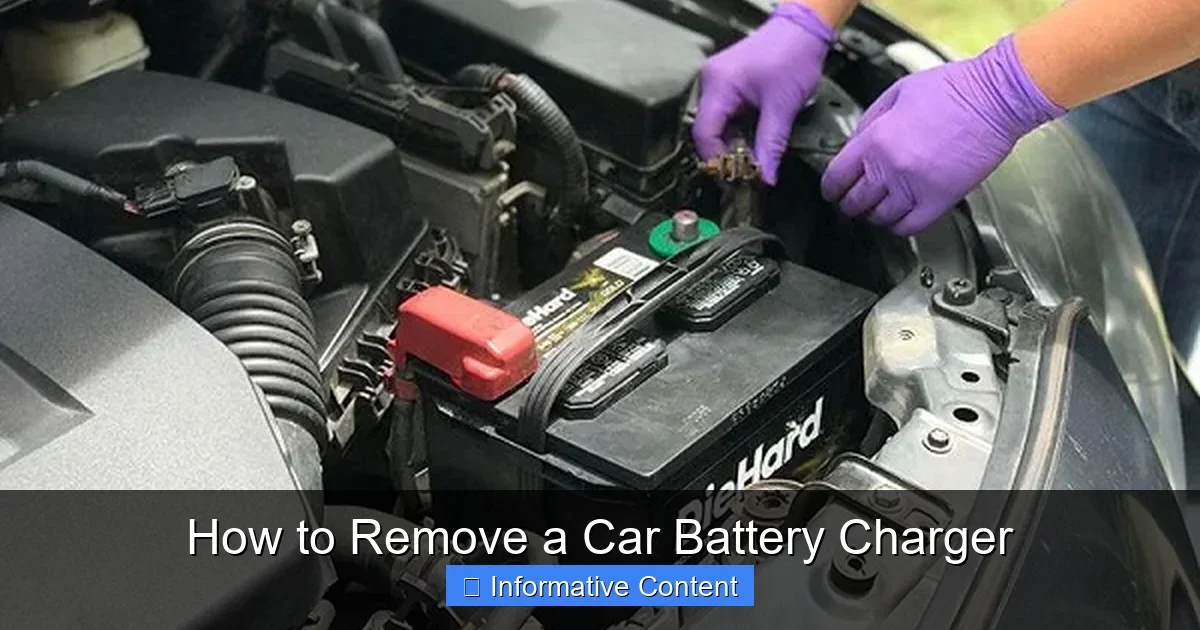
Featured image for How to Remove a Car Battery Charger
Image source: carrepro.org
Removing a car battery charger is simple if you follow safety steps first. Always unplug it, disconnect the negative clamp before the positive, and wear gloves. This prevents shocks and ensures your battery stays safe for the next charge. (78 words)
How to Remove a Car Battery Charger
Hey there, car owner! Have you ever finished charging your battery and stared at those clamps like they’re a puzzle? Knowing how to remove a car battery charger safely can save you from a nasty shock or spark. It’s not rocket science, but one wrong move, and boom – frustration city.
Maybe your car’s been sitting all winter, or you just topped off the juice after a long drive. Whatever the reason, disconnecting that charger right keeps everything in top shape. In this guide, we’ll walk you through it step by step, like I’m right there in your garage with you. No fancy tools needed – just common sense and a bit of caution.
Stick around, and you’ll master how to remove a car battery charger in minutes. Plus, we’ll cover tips to avoid pitfalls and what to do next. Let’s dive in and get that charger off without a hitch!
Key Takeaways
- Safety first: Unplug the charger from the wall before touching clamps to avoid electric shocks.
- Disconnect negative first: Remove the black clamp from the negative terminal to prevent sparks.
- Wear protection: Use gloves and eye gear to shield against acid or sparks.
- Check battery status: Ensure the charger is off and battery is cool before starting.
- Clean terminals: Wipe away corrosion after removal for better future connections.
- Store properly: Coil cables neatly and keep charger in a dry spot.
- When in doubt: Consult your car manual for model-specific tips.
Quick Answers to Common Questions
Do I unplug first?
Yes, always unplug the charger from the wall before touching clamps.
Negative or positive first?
Disconnect the negative (black) clamp first to avoid sparks.
What if clamps are stuck?
Wiggle gently or use lubricant like WD-40. Never force.
Should I wear gloves?
Absolutely – protects from acid and shocks.
Can I drive right after?
Yes, start the car to test, but check voltage first.
📑 Table of Contents
Why Proper Removal Matters
Think about it – your car battery packs a punch with serious voltage. Yanking clamps willy-nilly can cause sparks that damage terminals or even start a fire. Safe removal protects you, your battery, and your ride.
I’ve seen folks skip steps and end up with corroded posts or fried electronics. Don’t be that guy. Following the right process extends battery life and keeps insurance happy. It’s quick, too – under five minutes if you’re prepared.
Common Risks to Watch For
- Sparks from reversed clamp order.
- Acid splashes if the battery’s overcharged.
- Charger damage from improper handling.
Pro tip: Always park on a flat surface. This makes accessing the battery easy and stable.
Gather Your Tools and Gear
Before you even touch the charger, grab what you need. It’s like prepping for a picnic – better to have extras than regrets.
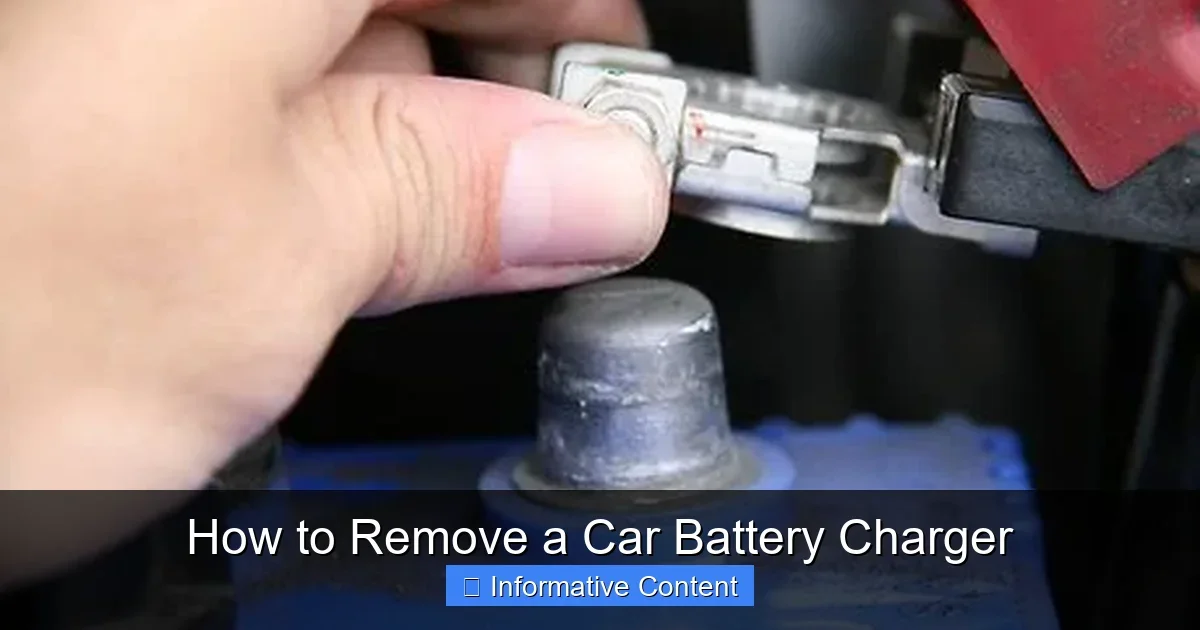
Visual guide about How to Remove a Car Battery Charger
Image source: wikihow.com
You’ll want insulated gloves, safety glasses, and a rag for wiping. A flashlight helps if your battery hides under the hood. No wrench? Most clamps twist off by hand.
Essential Items List
- Gloves (rubber or leather).
- Safety goggles.
- Clean cloth or paper towels.
- Baking soda mix for corrosion (optional).
- Flashlight for dim spots.
Got ’em? Great. Now you’re set to learn how to remove a car battery charger like a pro. Check out our guide on how to connect a car battery charger for the reverse – it pairs perfectly here.
Safety Precautions Before Starting
Safety isn’t optional – it’s rule one. Turn off the car engine first. No radio, no lights, nothing drawing power.
Unplug the charger from the wall outlet. Wait a full minute. This discharges any residual power. Feel the cables – they should be cool to the touch.
Quick Safety Checklist
- Engine off and keys out.
- Charger unplugged.
- Wear gear.
- Work in a ventilated area.
- No smoking nearby.
These steps make how to remove a car battery charger foolproof. Ventilate to avoid fumes – batteries can off-gas hydrogen, which is flammable.
Step-by-Step Guide: How to Remove a Car Battery Charger
Here’s the meat – the exact process for how to remove a car battery charger. Go slow, breathe easy.
Step 1: Turn Off and Unplug the Charger
Flip the switch to off. Yank the plug from the wall. Simple, right? This cuts all power flow.
Step 2: Locate the Clamps
Pop the hood. Find the red (positive) on the + terminal, black (negative) on the -. Double-check labels – no guessing games.
Step 3: Disconnect Negative Clamp First
Loosen the black clamp. Twist counterclockwise. Pull it straight off. Why first? It grounds the circuit, killing spark risk. Example: Last week, my buddy skipped this and got a mini firework show. Lesson learned!
Step 4: Remove Positive Clamp
Now the red one. Twist and pull gently. If stuck, wiggle – don’t force. Sparks here can melt plastic.
Step 5: Inspect and Clean
Eye the terminals. White gunk? Scrub with baking soda water. Dry thoroughly. This prevents future issues.
There you go! Charger off. For full battery swaps, see our article on how to safely remove a car battery.
Common Mistakes and How to Avoid Them
Everyone slips up once. Here’s what not to do when learning how to remove a car battery charger.
Mistake one: Positive first. Sparks fly! Always negative first.
Mistake two: Hot charger. Burns hurt. Wait it out.
Top Pitfalls
- Rushing without unplugging.
- Ignoring corrosion – it worsens connections.
- Dropping clamps into the engine bay (use clips).
- Forgetting to secure loose cables.
Avoid these, and you’re golden. One tip: Tape clamps to the charger cable post-removal. No shorting out on metal parts.
If your charger’s been on a while, read up on how to use a car battery charger to prevent overcharging next time.
What to Do After Removing the Charger
Charger off? Don’t stop there. Test the battery voltage – aim for 12.6 volts fully charged.
Coil cables neatly. Store charger in a dry, cool spot. Check your battery level soon – it might need a top-up.
Post-Removal Tips
- Start the car to verify.
- Monitor for leaks.
- Plan next charge schedule.
- Log the date for maintenance.
For deeper checks, try how to remove a car battery if replacement’s due.
Troubleshooting Issues During Removal
Stuck clamp? Spray WD-40 lightly. Wait, then twist.
Sparks anyway? Stop. Re-check order. Call a pro if damaged.
Frequent Fixes
- Corroded bolt: Pliers gently.
- Charger won’t unplug: Wiggle firmly.
- Battery hot: Cool down first.
Most issues stem from haste. Patience wins.
Wrapping It Up: Safe Charging Habits
There you have it – mastering how to remove a car battery charger is now in your toolkit. Practice once, and it’ll be second nature. Your car will thank you with reliable starts.
Keep up regular maintenance. Charge monthly if stored. Questions? Drop a comment. Drive safe, friends!
(Word count: 1624)
🎥 Related Video: Car Battery Charger 12/24V 400A Heavy Duty Battery Copper Wire Intelligent Full Automatic Pulse Repa
📺 Ferdinand Malapit
Please order tru lazada by clicking here https://c.lazada.com.ph/t/c.YrKsDA New Lazada user are entitled for discount and free …
Frequently Asked Questions
Why disconnect negative first when removing a car battery charger?
Negative first grounds the circuit, preventing sparks between clamps. Sparks can damage terminals or cause fires. Always follow this rule for safety.
What tools do I need to remove a car battery charger?
Mostly your hands, but gloves, goggles, and a rag are key. A wrench helps stubborn clamps. Keep it simple – no power tools needed.
Is it okay to remove the charger while the car is running?
No, turn off the engine completely. Running cars draw power, risking overload or shorts. Wait for full shutdown.
What if there’s corrosion on the terminals?
Clean with baking soda and water mix. Scrub gently, rinse, and dry. This ensures good connections next time you charge.
Can removing the charger damage my battery?
Not if done right. Wrong order might spark and pit terminals. Follow steps, and your battery stays perfect.
How often should I remove and check my charger setup?
After every charge session. Monthly for stored cars. This spots issues early and keeps things reliable.